Quick start
Discover the 3 key steps to start visualizing your cloud costs and infra in Holori App. Please refer to the dedicated sections for more details about each software feature.
Step 1: Create account
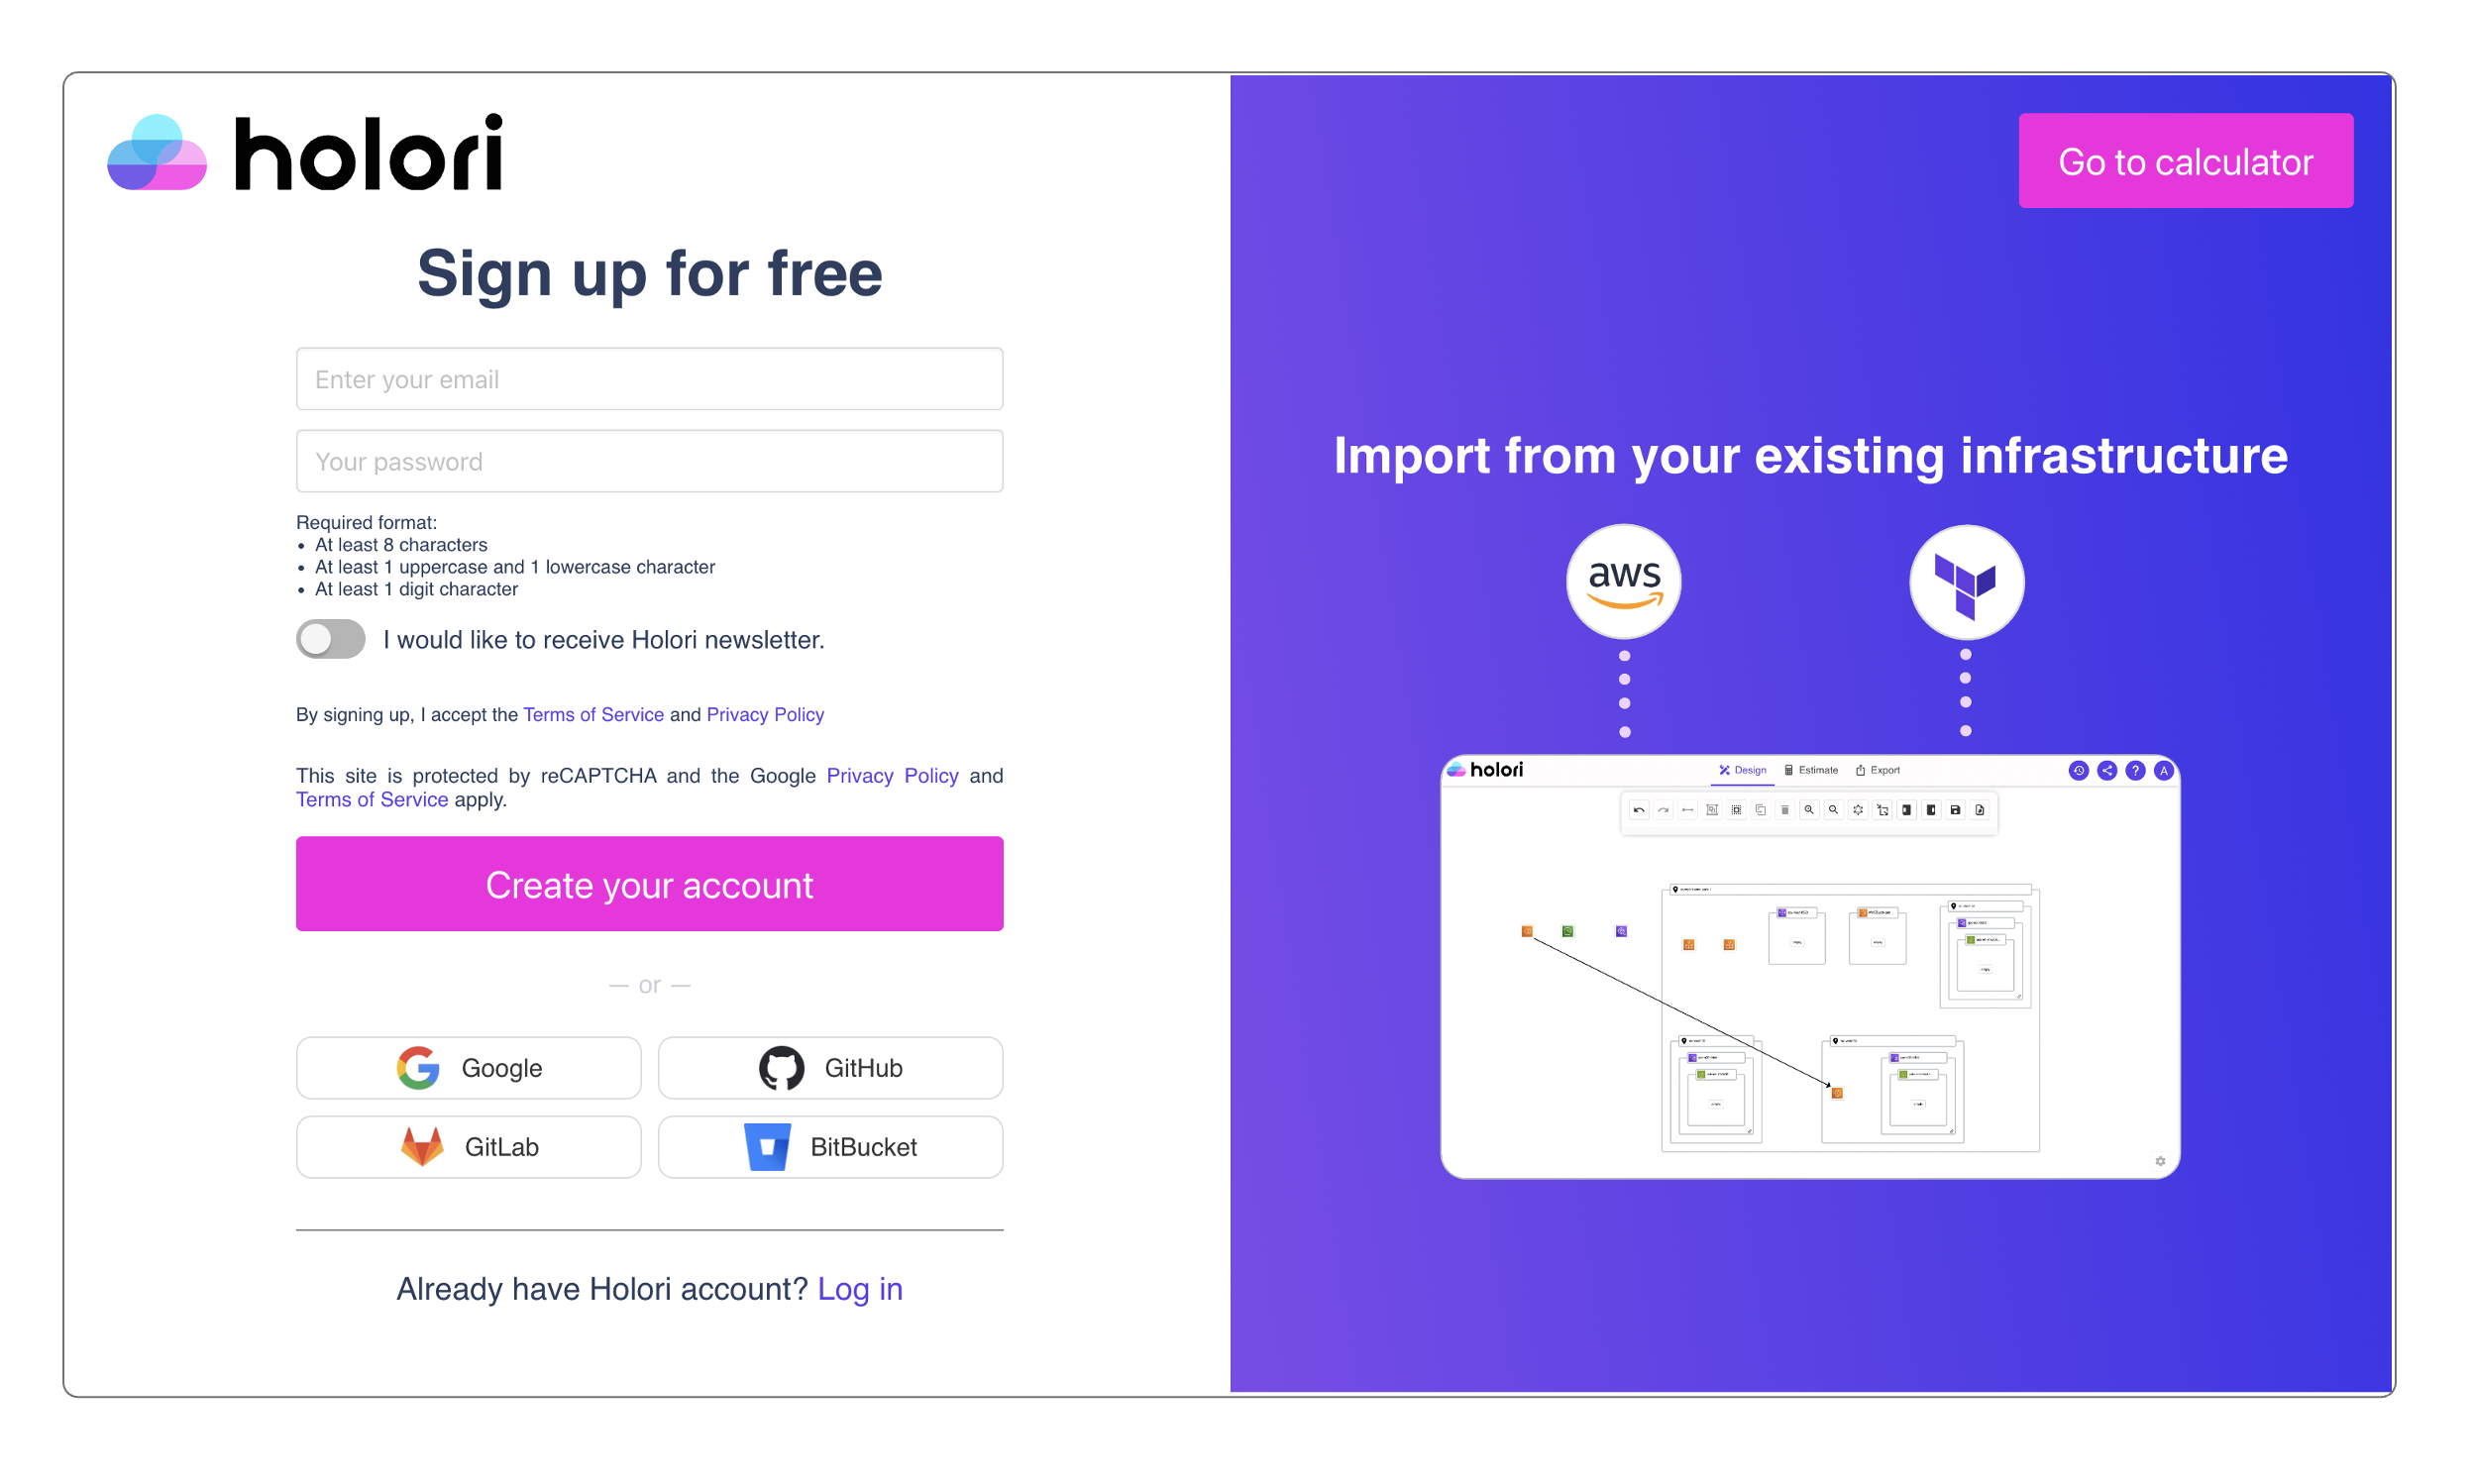
Go to https://app.holori.com/ and click Sign up.

Step 2: Connect provider account
Select the provider you wish to connect to Holori and follow the procedure.
For cloud cost and infra visibility the supported providers are AWS,GCP and Azure.
- AWS
- GCP
- Azure
AWS configuration: https://doc.holori.com/Integrations/connect-aws
GCP configuration: https://doc.holori.com/Integrations/connect-gcp
Azure configuration: https://doc.holori.com/Integrations/connect-azure
The import can sometimes take up to 30 minutes depending on your infra size. Have a coffee while your data is being imported.
Step 3: Visualize your costs and infra
Costs Visibility
After connecting your first cloud account, Holori will start building automatically your first cost dashbaords.

The main pages

-
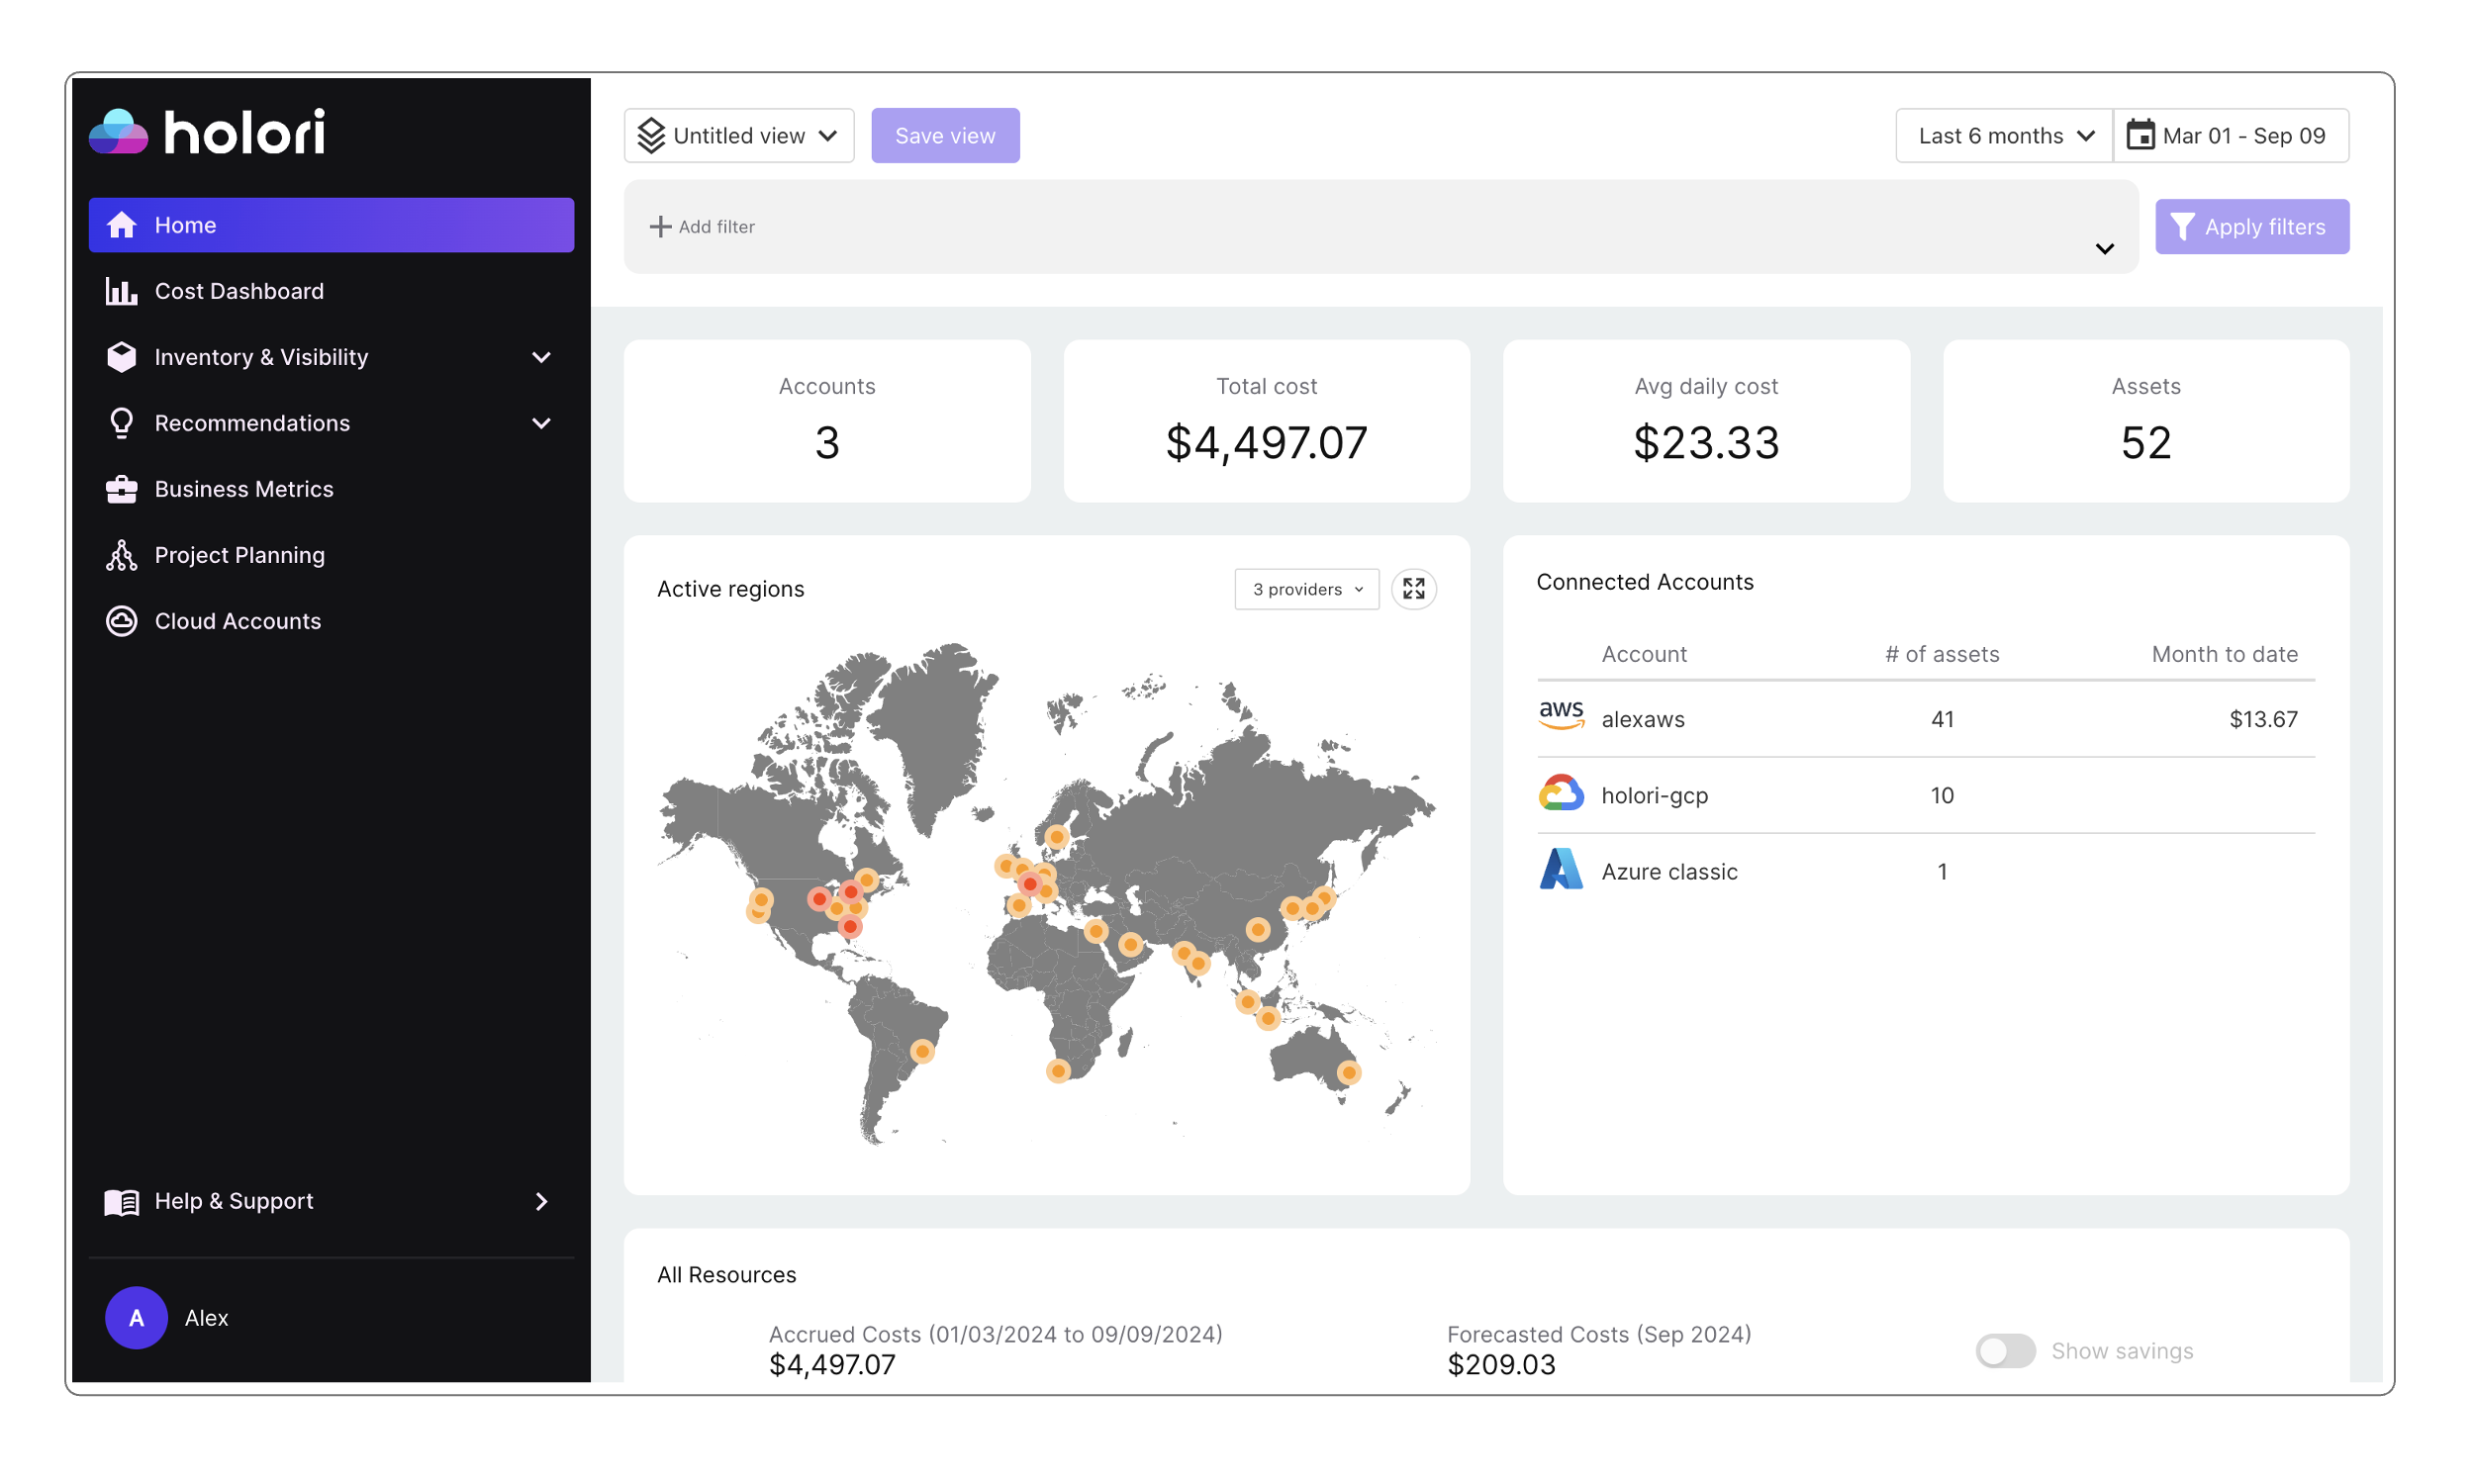
Homepage summarizes connected accounts information such as your global cloud bill, number of assets and their locations, a cost breakdown between main products families and a list of most expensive resources
-
Cost Dashboard focuses on your main cost drivers by category, category being a service type, a region...
-
Inventory displays cost information at the individual resource level.
Infra Visibility
Go to "Inventory & Visibility" on the left sidebar, then select "Infrastructure View".
The infra diagrams of the connected cloud accounts are displayed as thumbnails, click on the one you want to open.
The auto-sync frequency depends on your plan.
Neeed help?
Use the chat on the App or Website and one of our experts will answer all your questions!